Here are six easy steps to making your own Pusheen cake without having to use fondant. I used a red velvet cake mix and would actually recommend using vanilla if possible so that the crumbs aren’t dark on the light frosting. I also used a cream cheese frosting but any white frosting will work.
STEP 1: SHAPING

I started off with a rectangle red velvet cake and, let me tell you, it is 100% easier to frost a cake artistically if the cake has cooled first!

Then I cut the shape of Pusheen, taking off as little cake as possible. I cut a tail shape out of some of the scraps and sat it next to the big piece with the intention of icing-gluing it on later.
STEP 2: GRAY FROSTING

Stores don’t sell black or gray food coloring so I googled how to make it and found out that if you mix equal parts blue, green, and red, it will make gray. It isn’t the most attractive color but it still tasted awesome!

I just bought a multi pack from Target.
STEP 3: FROSTING THE BASE


Next, I iced the cake and attached the tail with extra frosting. At this point, she kinda looked like a zombie cat because of the red inside and the gray outside haha.
STEP 4: FROSTING IN SOME DETAIL

I added more food coloring to make a darker gray for the tail and head stripes. It was about 10 of each color I think.

I used a butter knife to add the striped details. A small brush would have been more ideal though. Also, be sure to wipe away the little blobs of frosting that end up on the plate surface. Having them gone just makes the whole thing look neater and more polished.
STEP 5: ADDING THE EYES

Then came the brown M&M eyes that I just happened to have handy (yay for my chocolate addiction!).
STEP 6: THE FINISHING TOUCHES

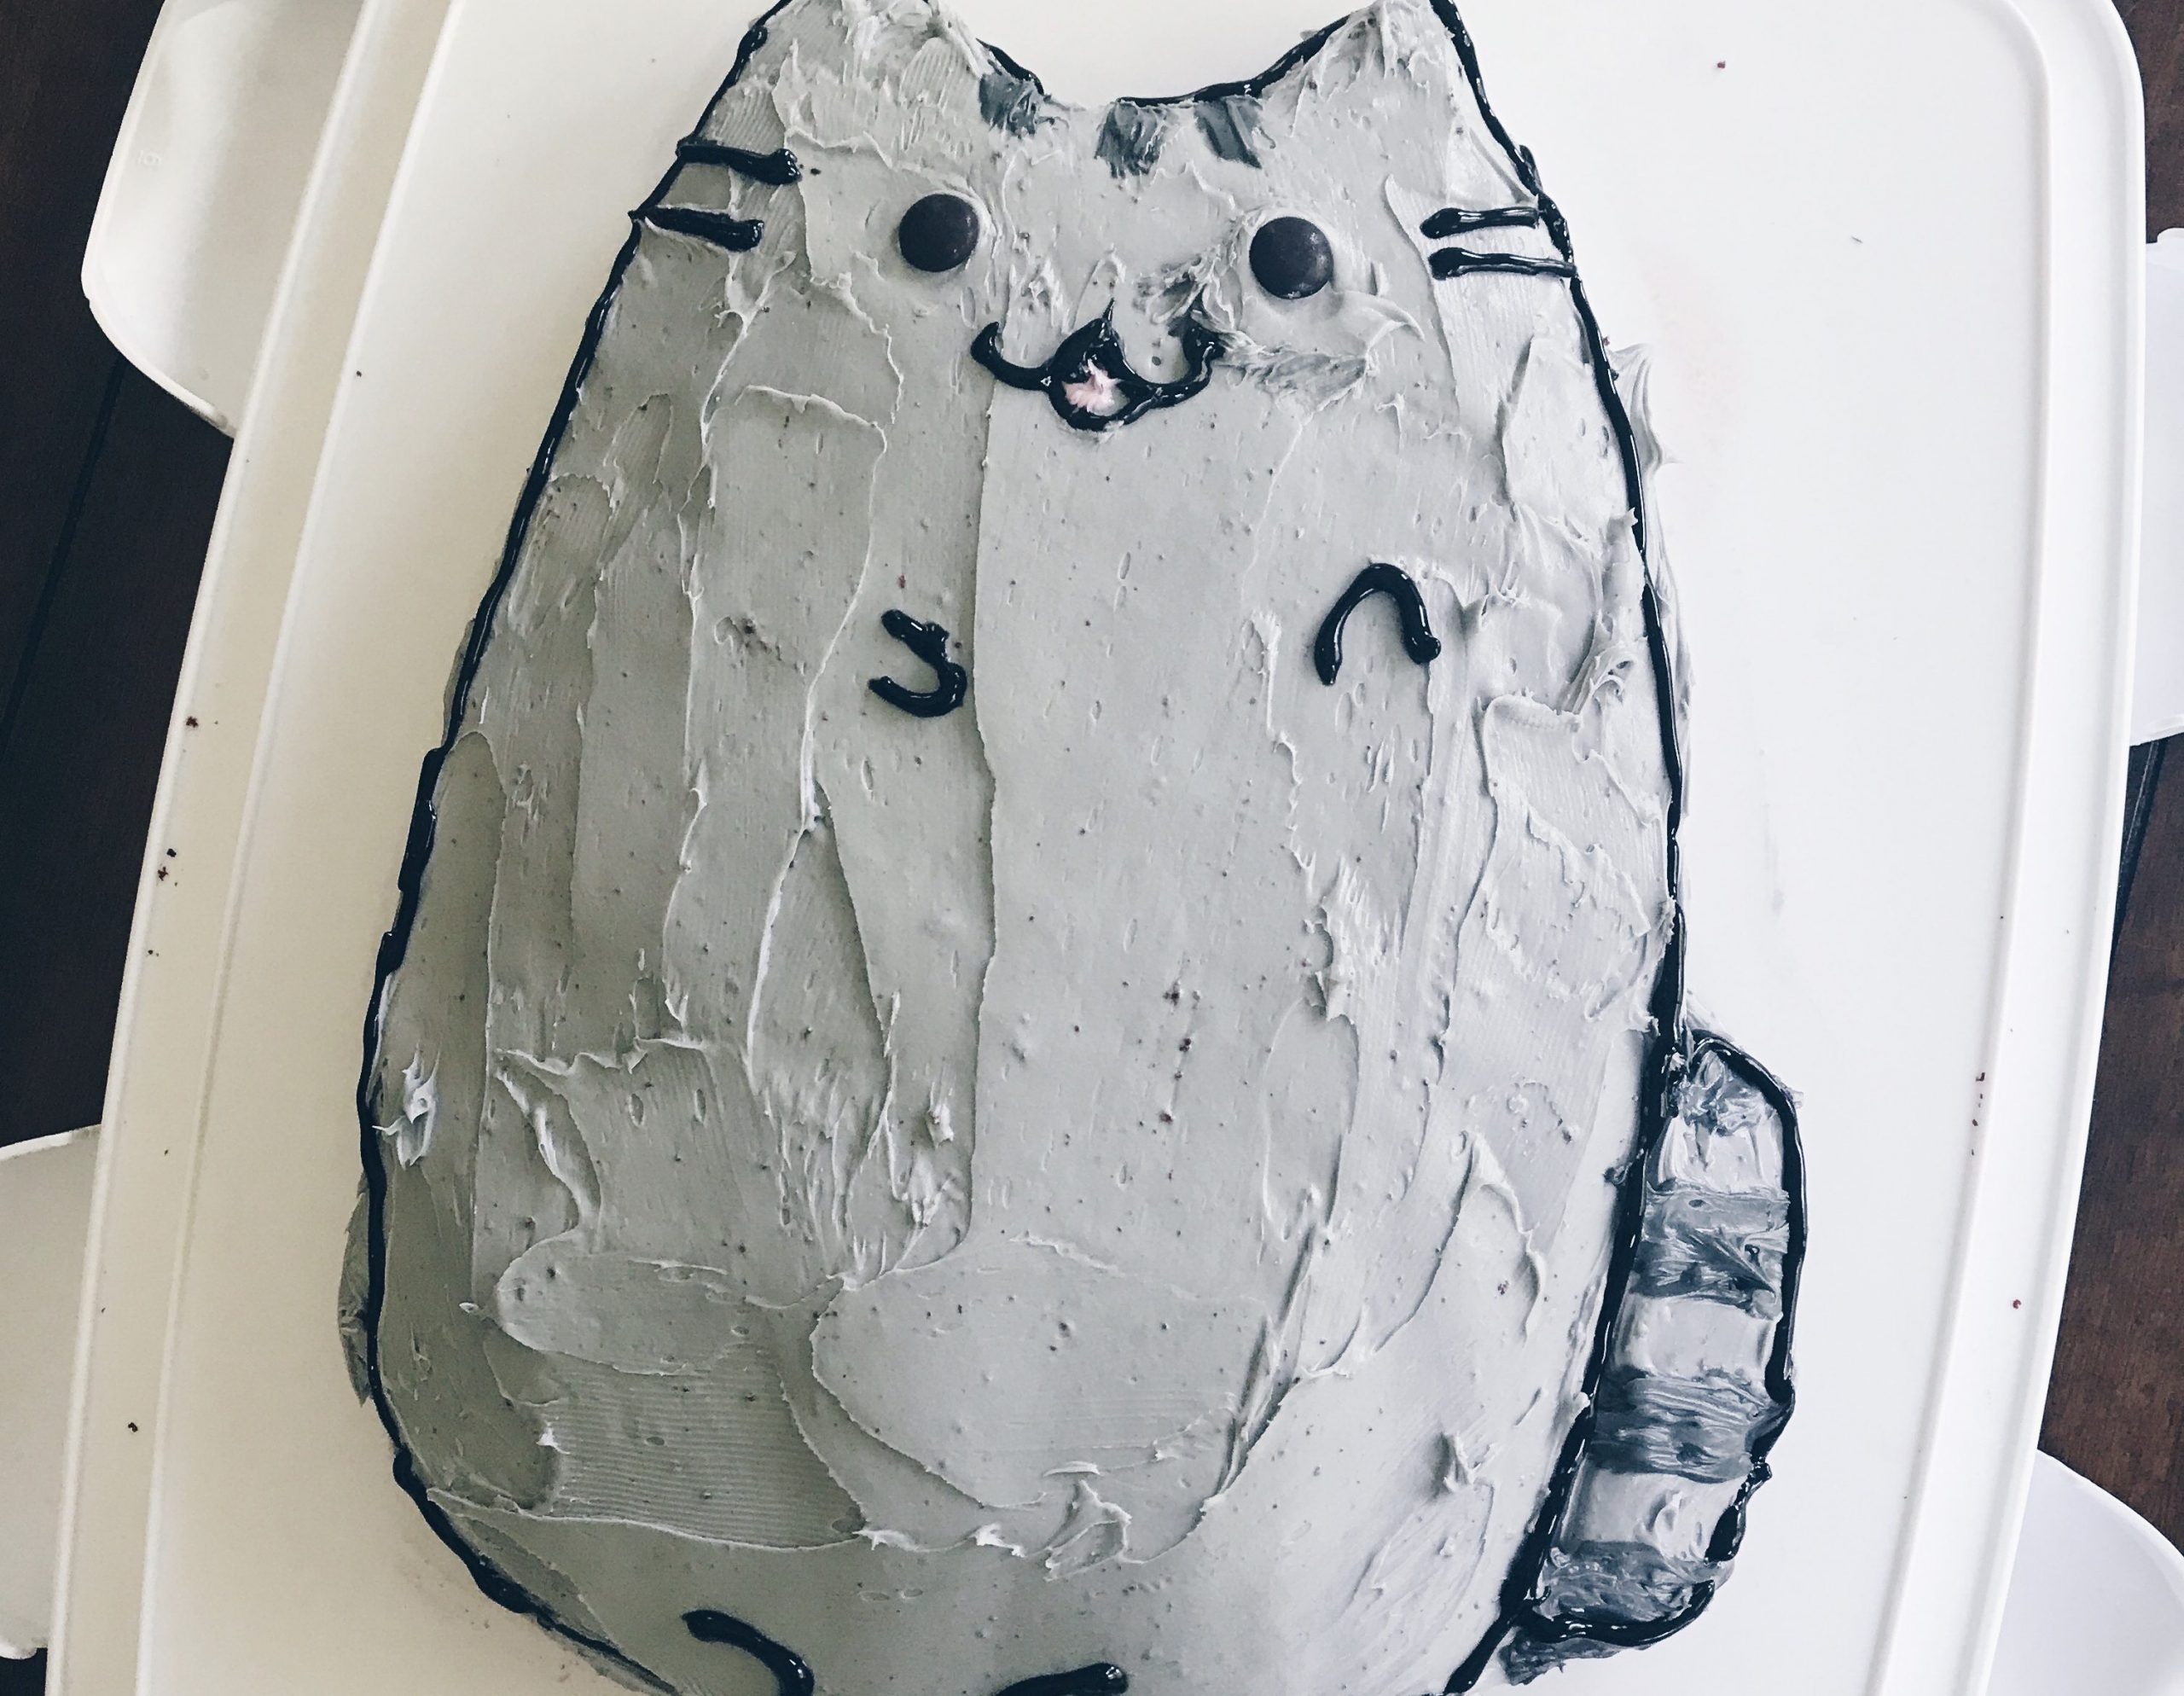
I purchased pink and black thin icing to do some other detail drawing. They worked pretty well, though I do recommend having someone with a steady hand do this part.


I added the pink for her mouth and outlined the whole thing for a nice crisp finish. That’s it! After the cake had been baked, it took me about an hour to get it done and I am pretty happy with how she turned out.
If anyone tries to make tis cake or any similar cake designs, be sure to tag your post or image int he comments so I can see it!

Leave a Reply