I can’t begin to tell you how many times I have pinned something on Pinterest to my DIY House board thinking, “This is so cool! I could totally do this!”. It happens all the time where I see beautiful rooms with shiplap and decor that I feel inspired to take on as soon as i see it. However, when I actually go to do the DIY I get overwhelmed and terrified and end up talking myself out of doing it. We repainted our dining room last week and changed out the furniture so I figured it was the perfect opportunity to finally take on a DIY wood wall. I bribed my hubby into helping me out and it actually turned out pretty good! Who would have thought that a graphic designer and a software engineer could do such fine handy work haha.
I thought I would share with you guys some of the do’s and don’ts that we learned in doing this project. If you decide to take on a similar one, hopefully this will help. I also thought that I would share some easy (wish) DIY projects that don’t take too much time or expertise and really change the look of a room.

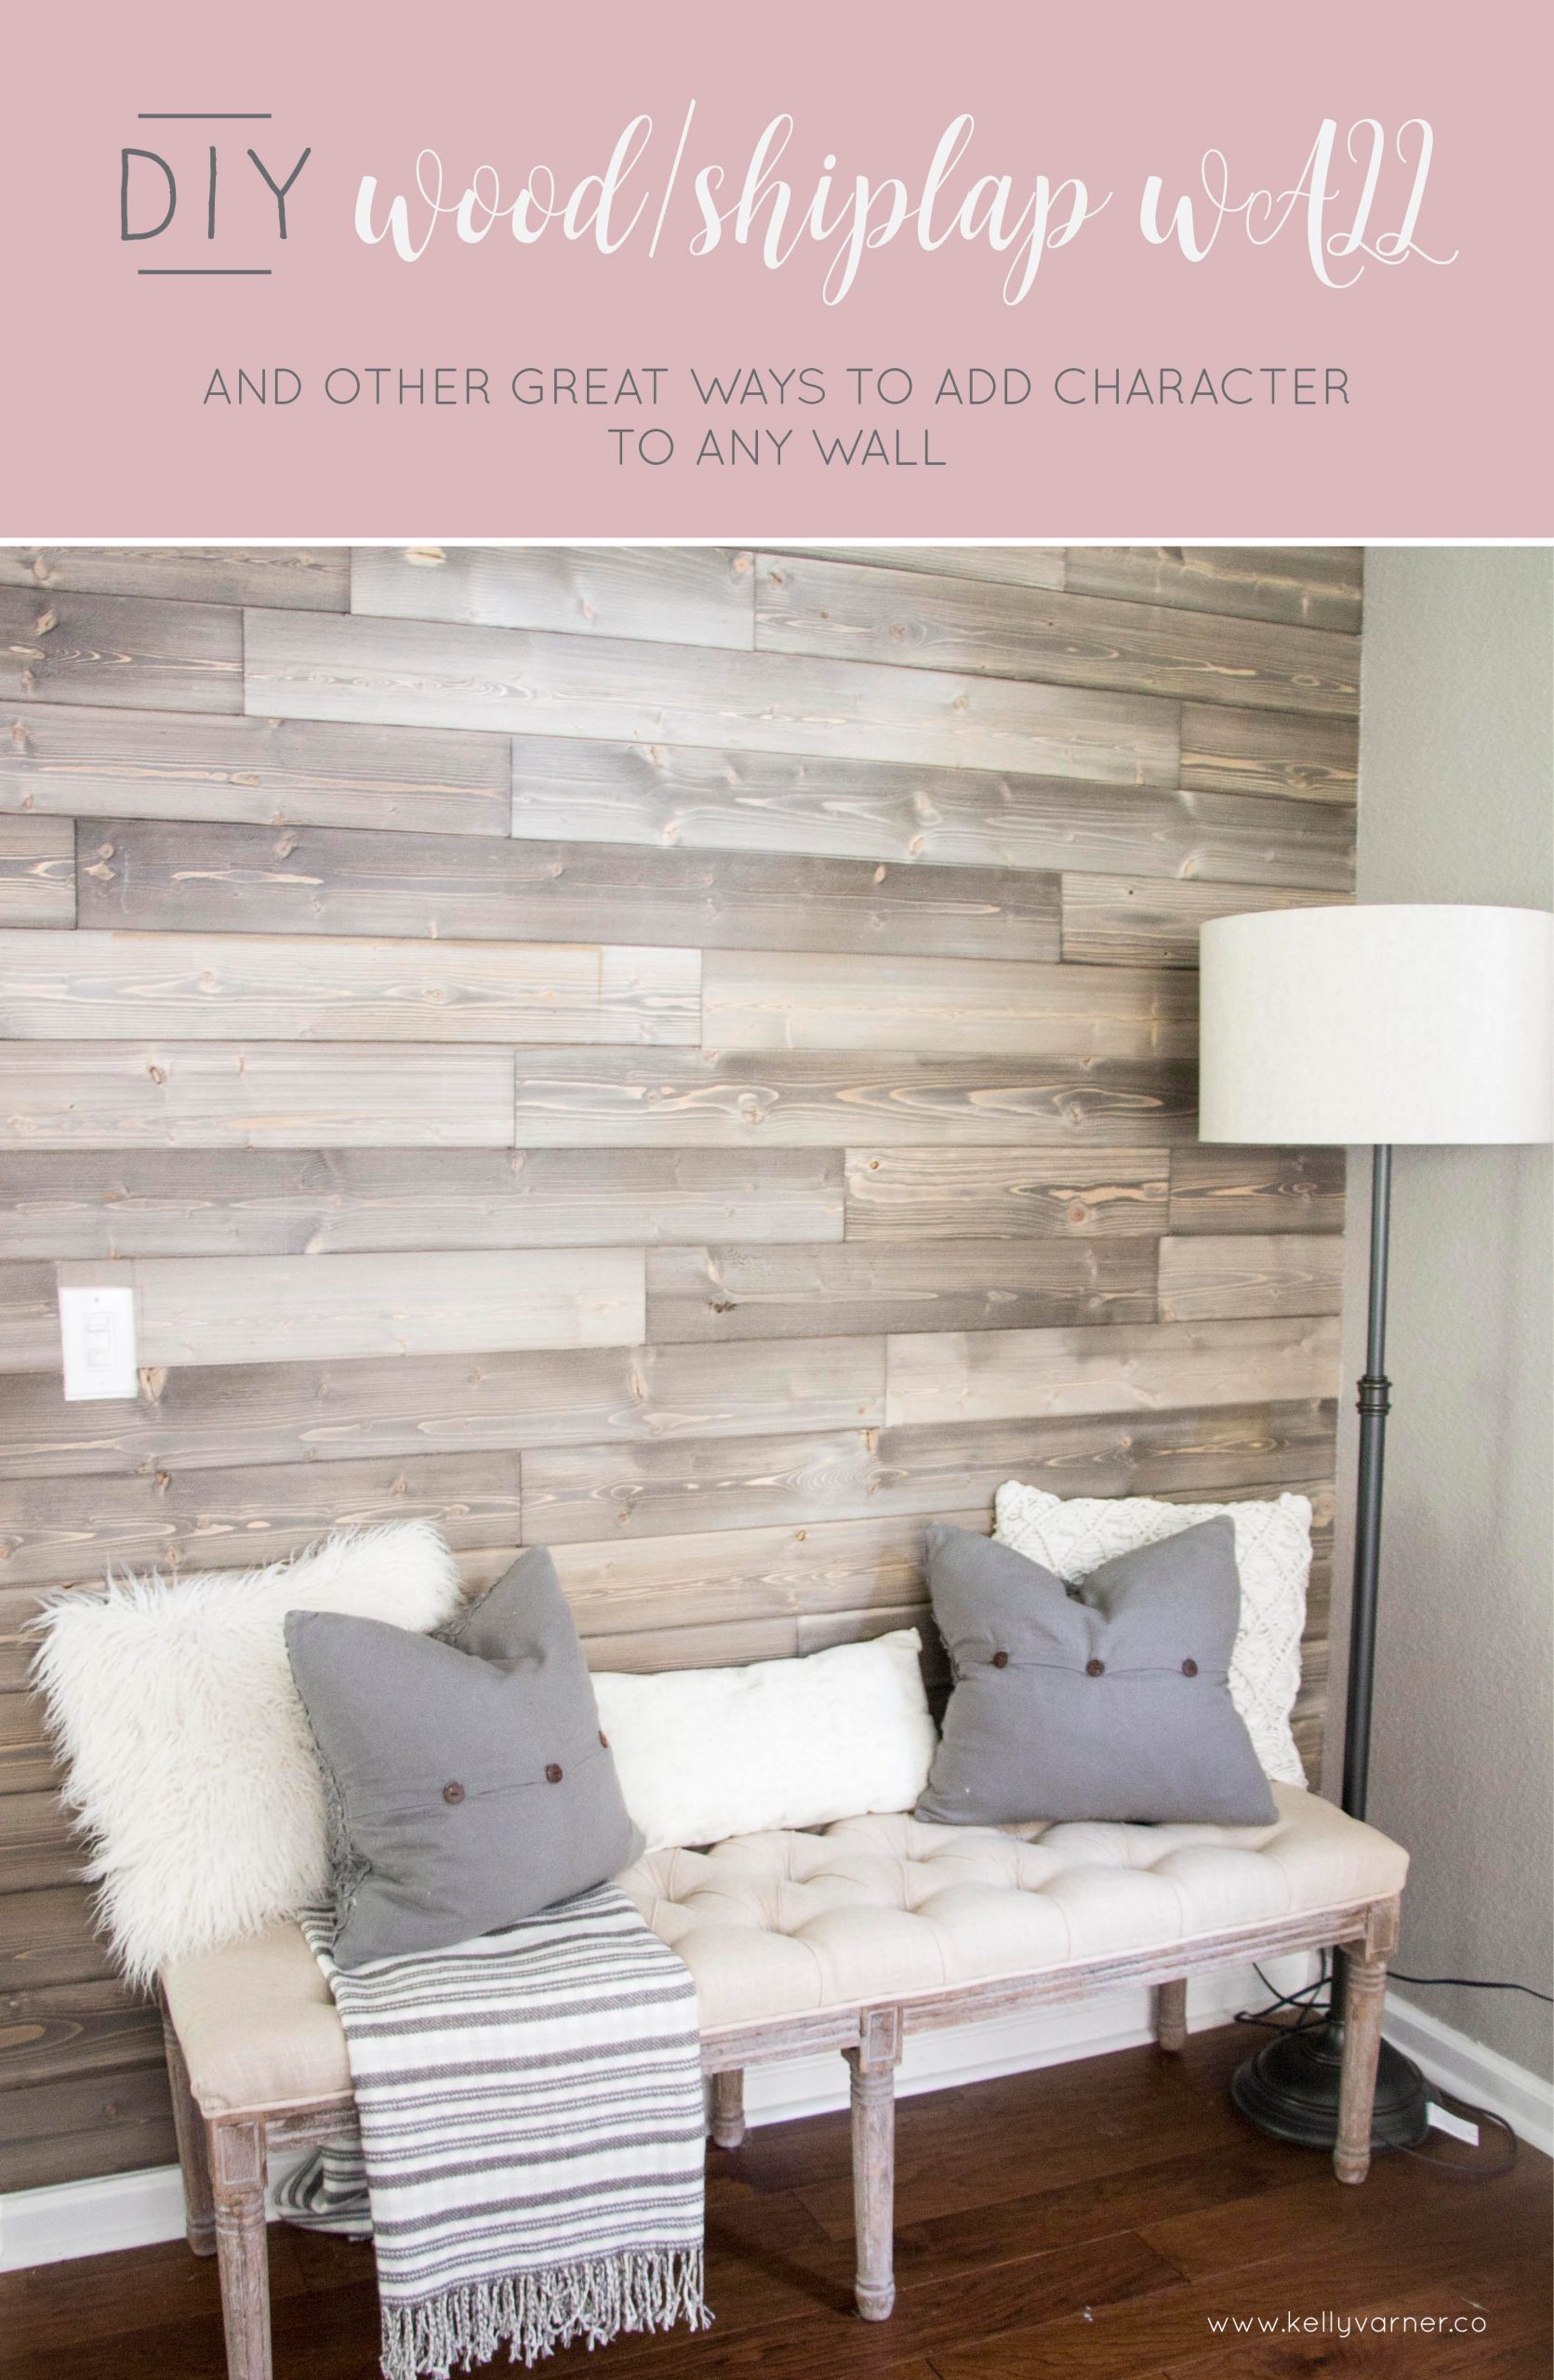
OUR DIY FAUX WOOD WALL
I got inspired to do this sort of wall from a combination of Pinterest images and from a local coffee shop. The wood just added a lot of character and texture to the room. If you want to see some of the walls that gave me the inspiration to do this one, check out my Pinterest page here.
THE PROCESS
As you can see above, the wall was pretty boring.
We went to Lowe’s and bought enough boxes of shiplap wall kits to fill the square footage of the wall.

The nail gun, jigsaw, and rotary saw we borrowed from my dad to cut the boards to the appropriate lengths. We also purchased a caulk gun and some wood glue.
TIP: Buy more wood than you actually need. There will be mess-ups.
Next, we lined up the boards and measured where to cut them one row at a time. We used the jigsaw to cut the cutouts around the smoke detector and the outlets.
TIP: Don’t pick a wall with too many structures on it like outlets, windows, doorbell boxes, etc.


We glued the back of the boards with wood glue and once we had them in place, we nailed each board twice at each end. This process lasted two days as we had to keep measuring and cutting.
TIP: before you start glueing, determine how much space you want between each row. I chose to leave the width of a nickel so I could be consistent and in case I painted it white like shiplap.
My original plan was to paint the wall white but I was so pleased with the wood look that I decided to keep it the way it was.


We got crazy lucky with how well the bottom lined up with the baseboard. Thankfully we didn’t have to cut the bottom of the boards on the bottom row.
TIP: Don’t worry too much about making each board the EXACT same length on the end. You will probably end up adding a piece of trim to the corner anyway.
THE FINAL PRODUCT
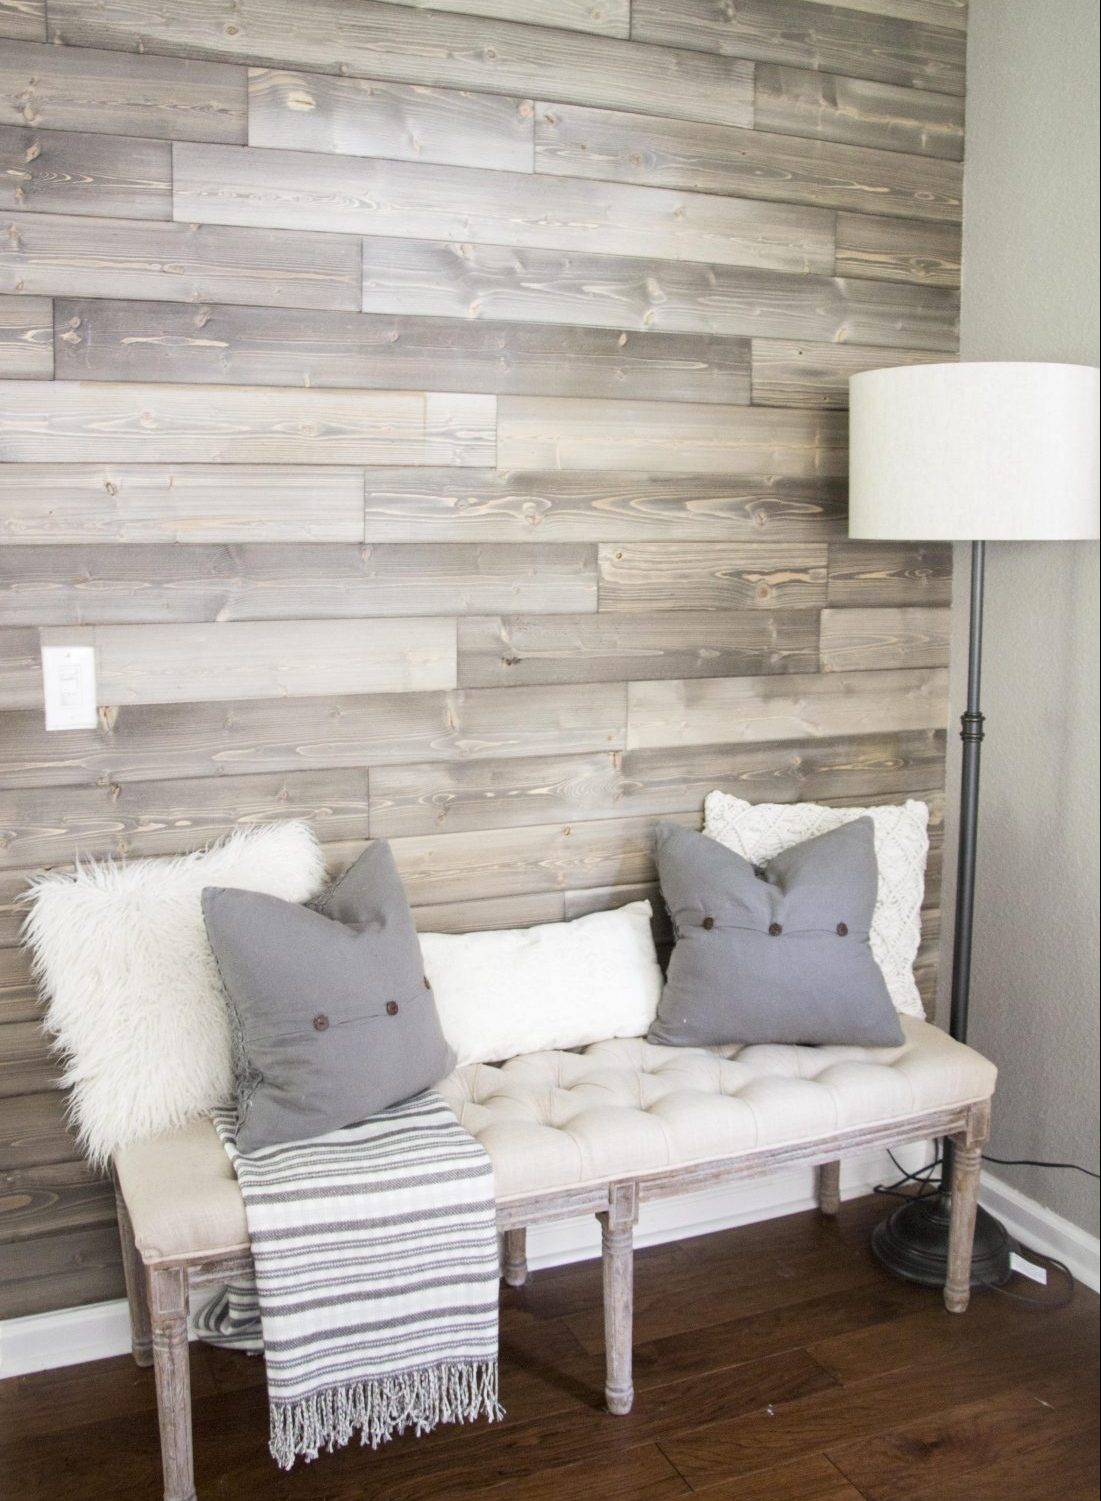
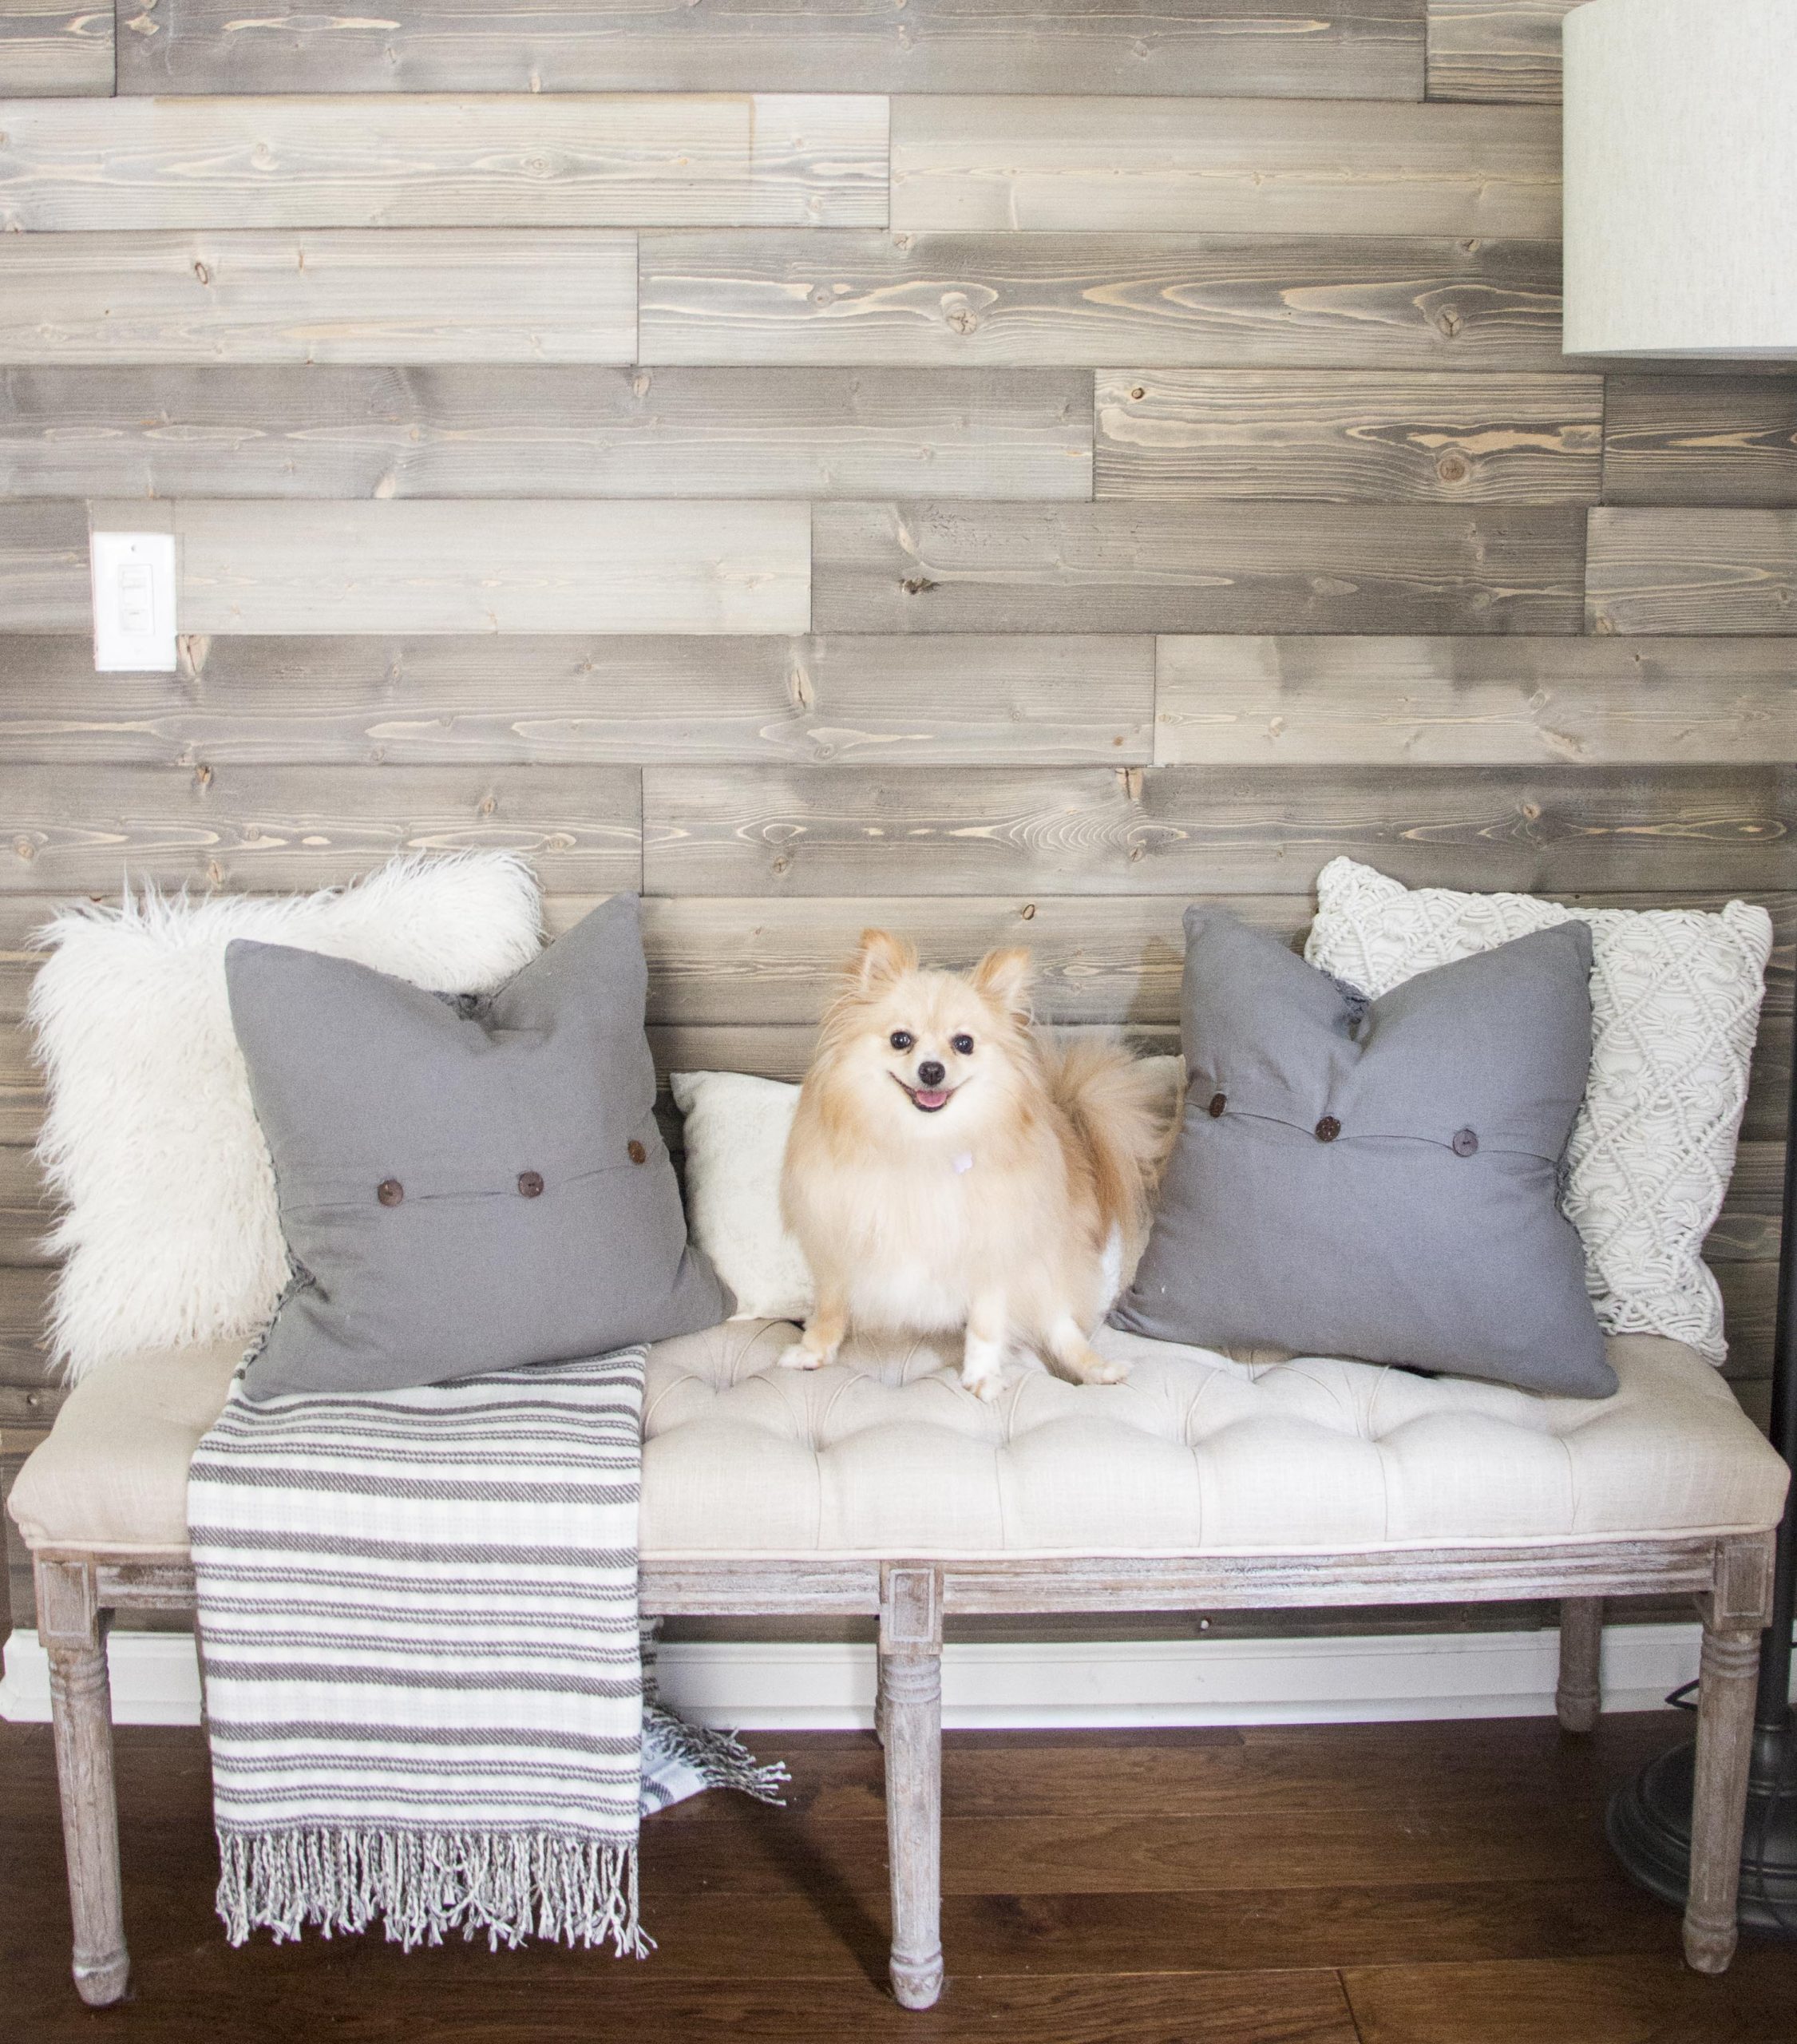
You really can change the look of a room so much by just adding some texture and paint. Our wall turned out so good and I am excited to take on another project like this in the future.
OTHER FUN DIY PROJECTS
In case you are interested in adding character to one of your walls, here are some fun and affordable options.
Faux Brickwork
A brick wall is another great way to add a pop of texture to a wall, or even fireplace surround. Unfortunately, brick is pretty costly and timely to install, but if you think outside of the box and look into other options such as Faux Brickwork, it can be extremely easy to accomplish the look you are going for. Located in Clearwater, Florida, Faux Brickwork provides exceptional authentic looking brickwork to suit any setting. Their high quality materials ensure you achieve the look and feel you require without the need for expensive and timely building work. Faux brick panels are made out of plaster, which makes them authentic visually, but also extremely lightweight, making them easy to install. Faux Brickwork offers many unique styles online, sends samples, and also has a custom design service available.


The faux brick would look AMAZING in a bathroom or in place of backsplash in a kitchen too!
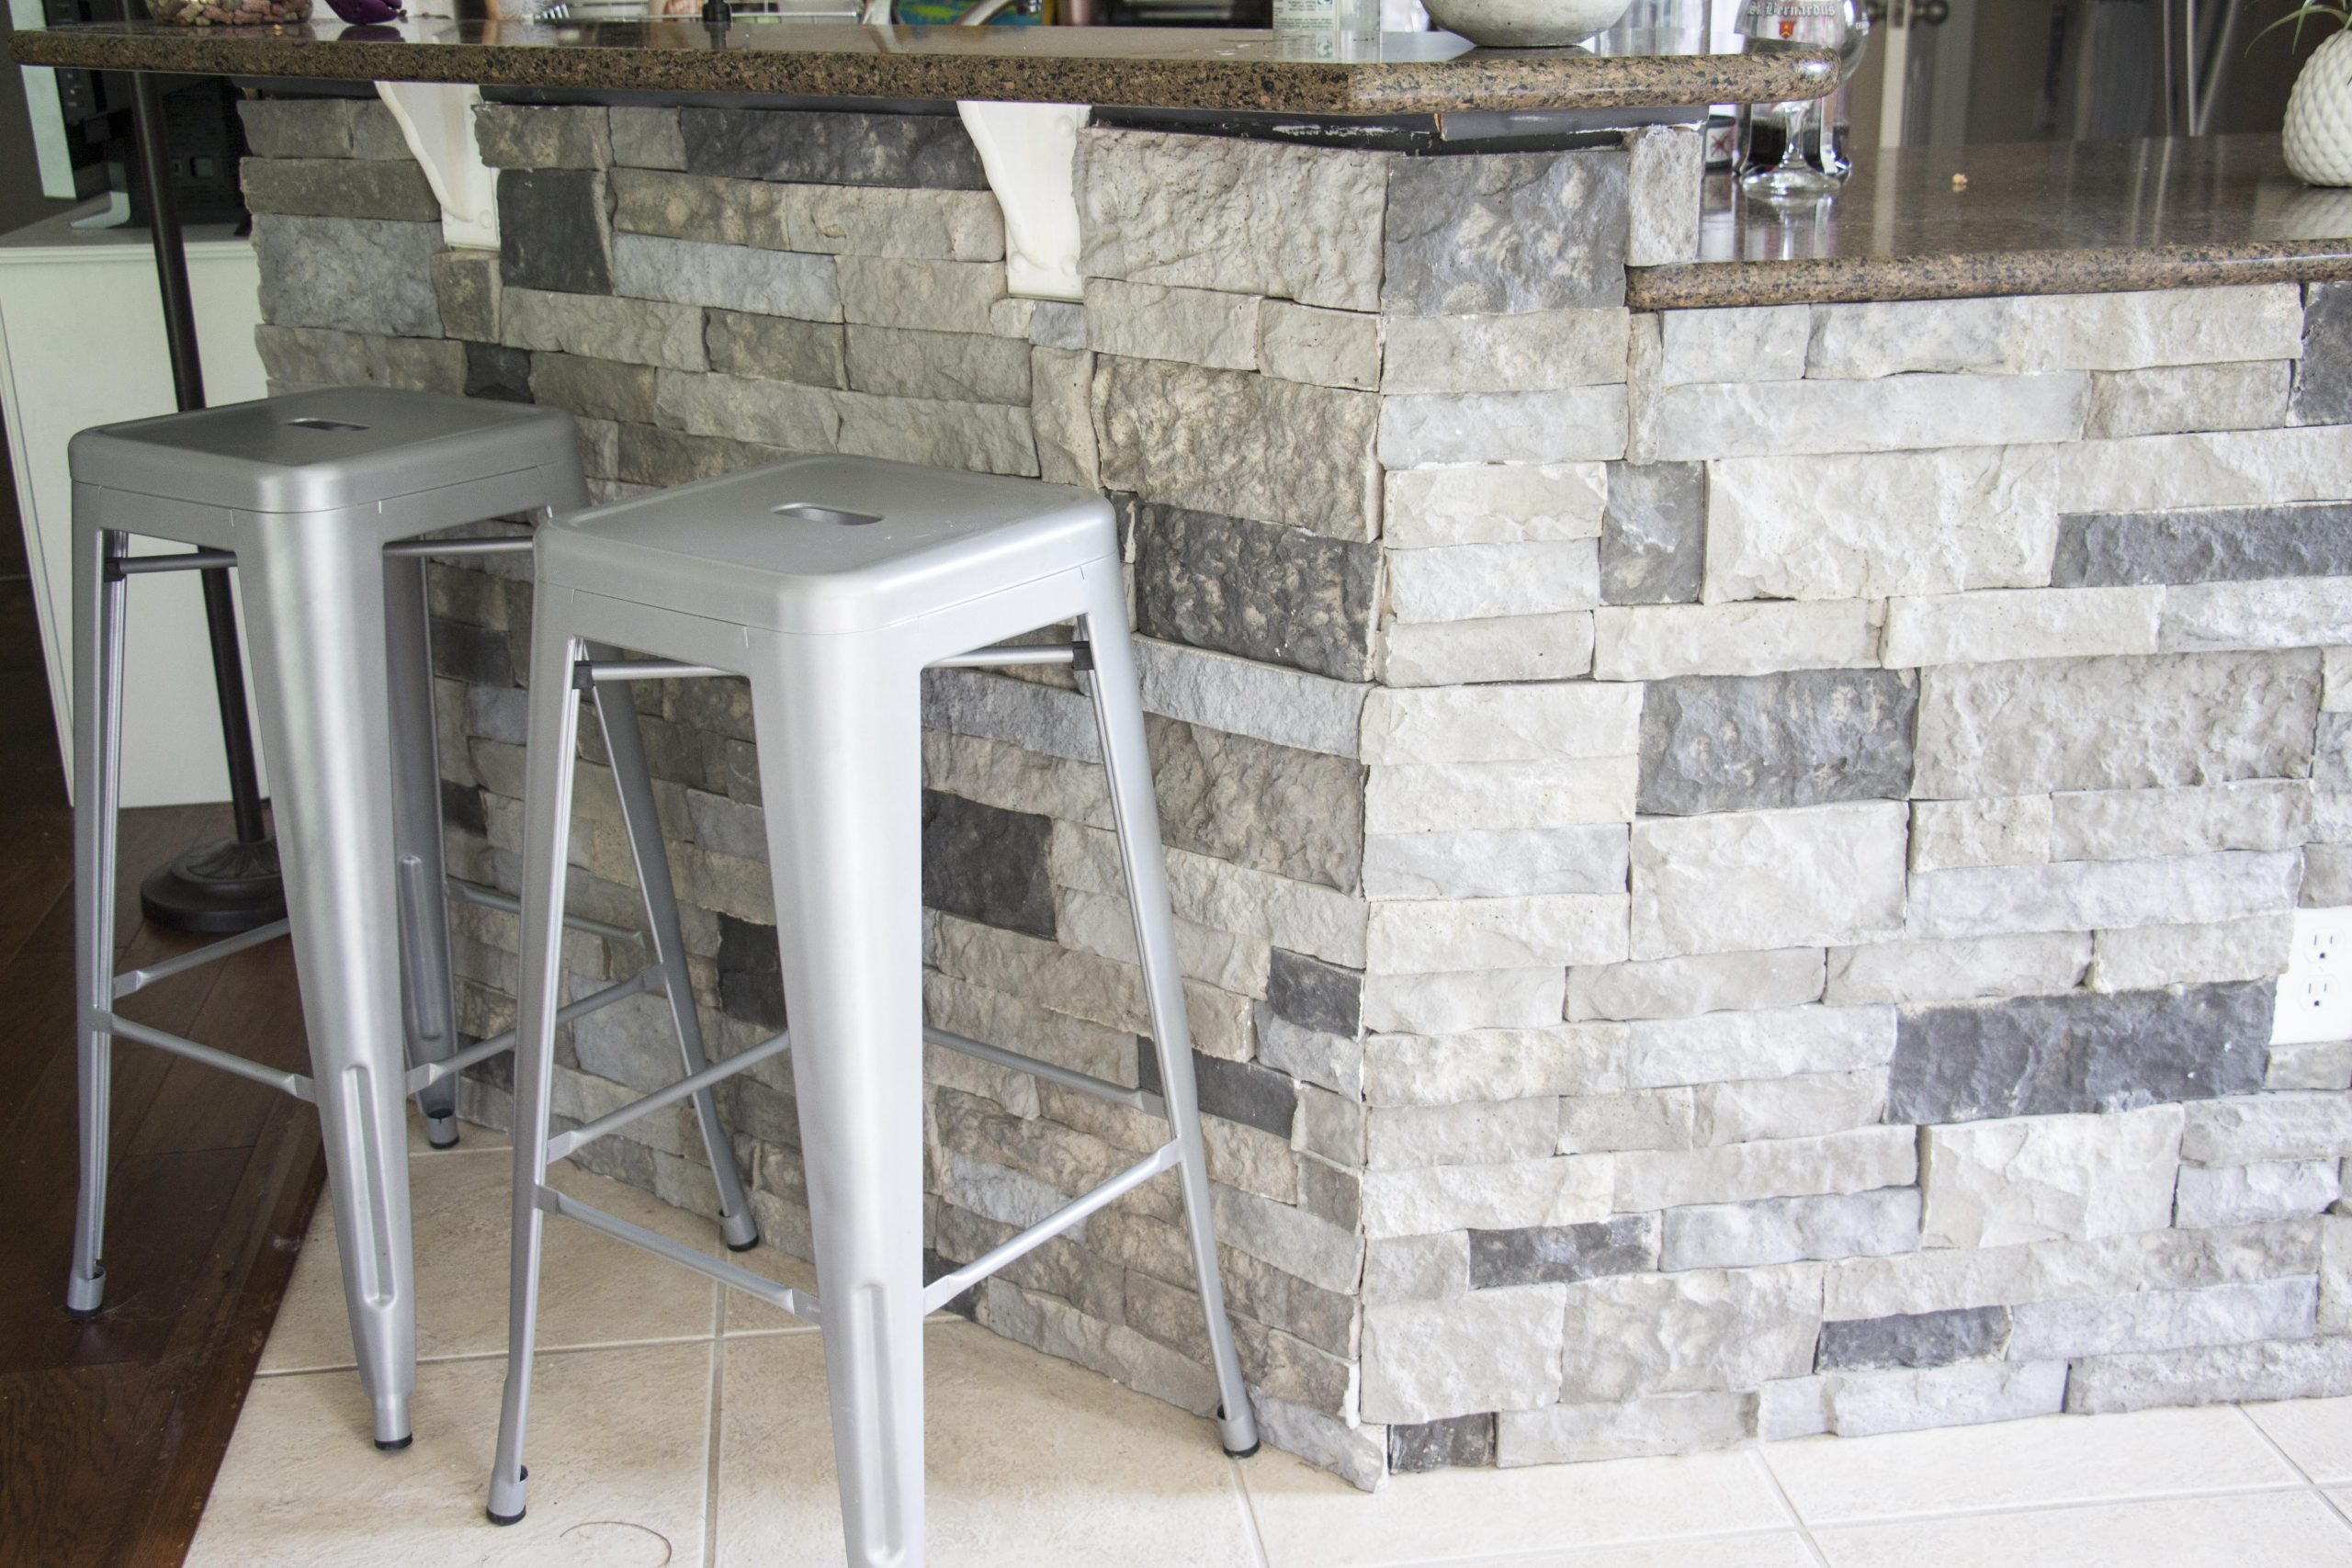
Air Stone
We also added Air Stone to our buffet in our kitchen. The wall under the counter looked kind of dull and bland so we thought it would add something interesting to the room. You can buy the boxes of Air Stone and putty at Lowe’s or Home Depot. Make sure you have a saw that can cut the lightweight “stone”. It took us an afternoon and it would look amazing with the faux brick!
Thanks for reading! Be sure to comment with any fun DIY projects like these that you have done or have planned.

Leave a Reply