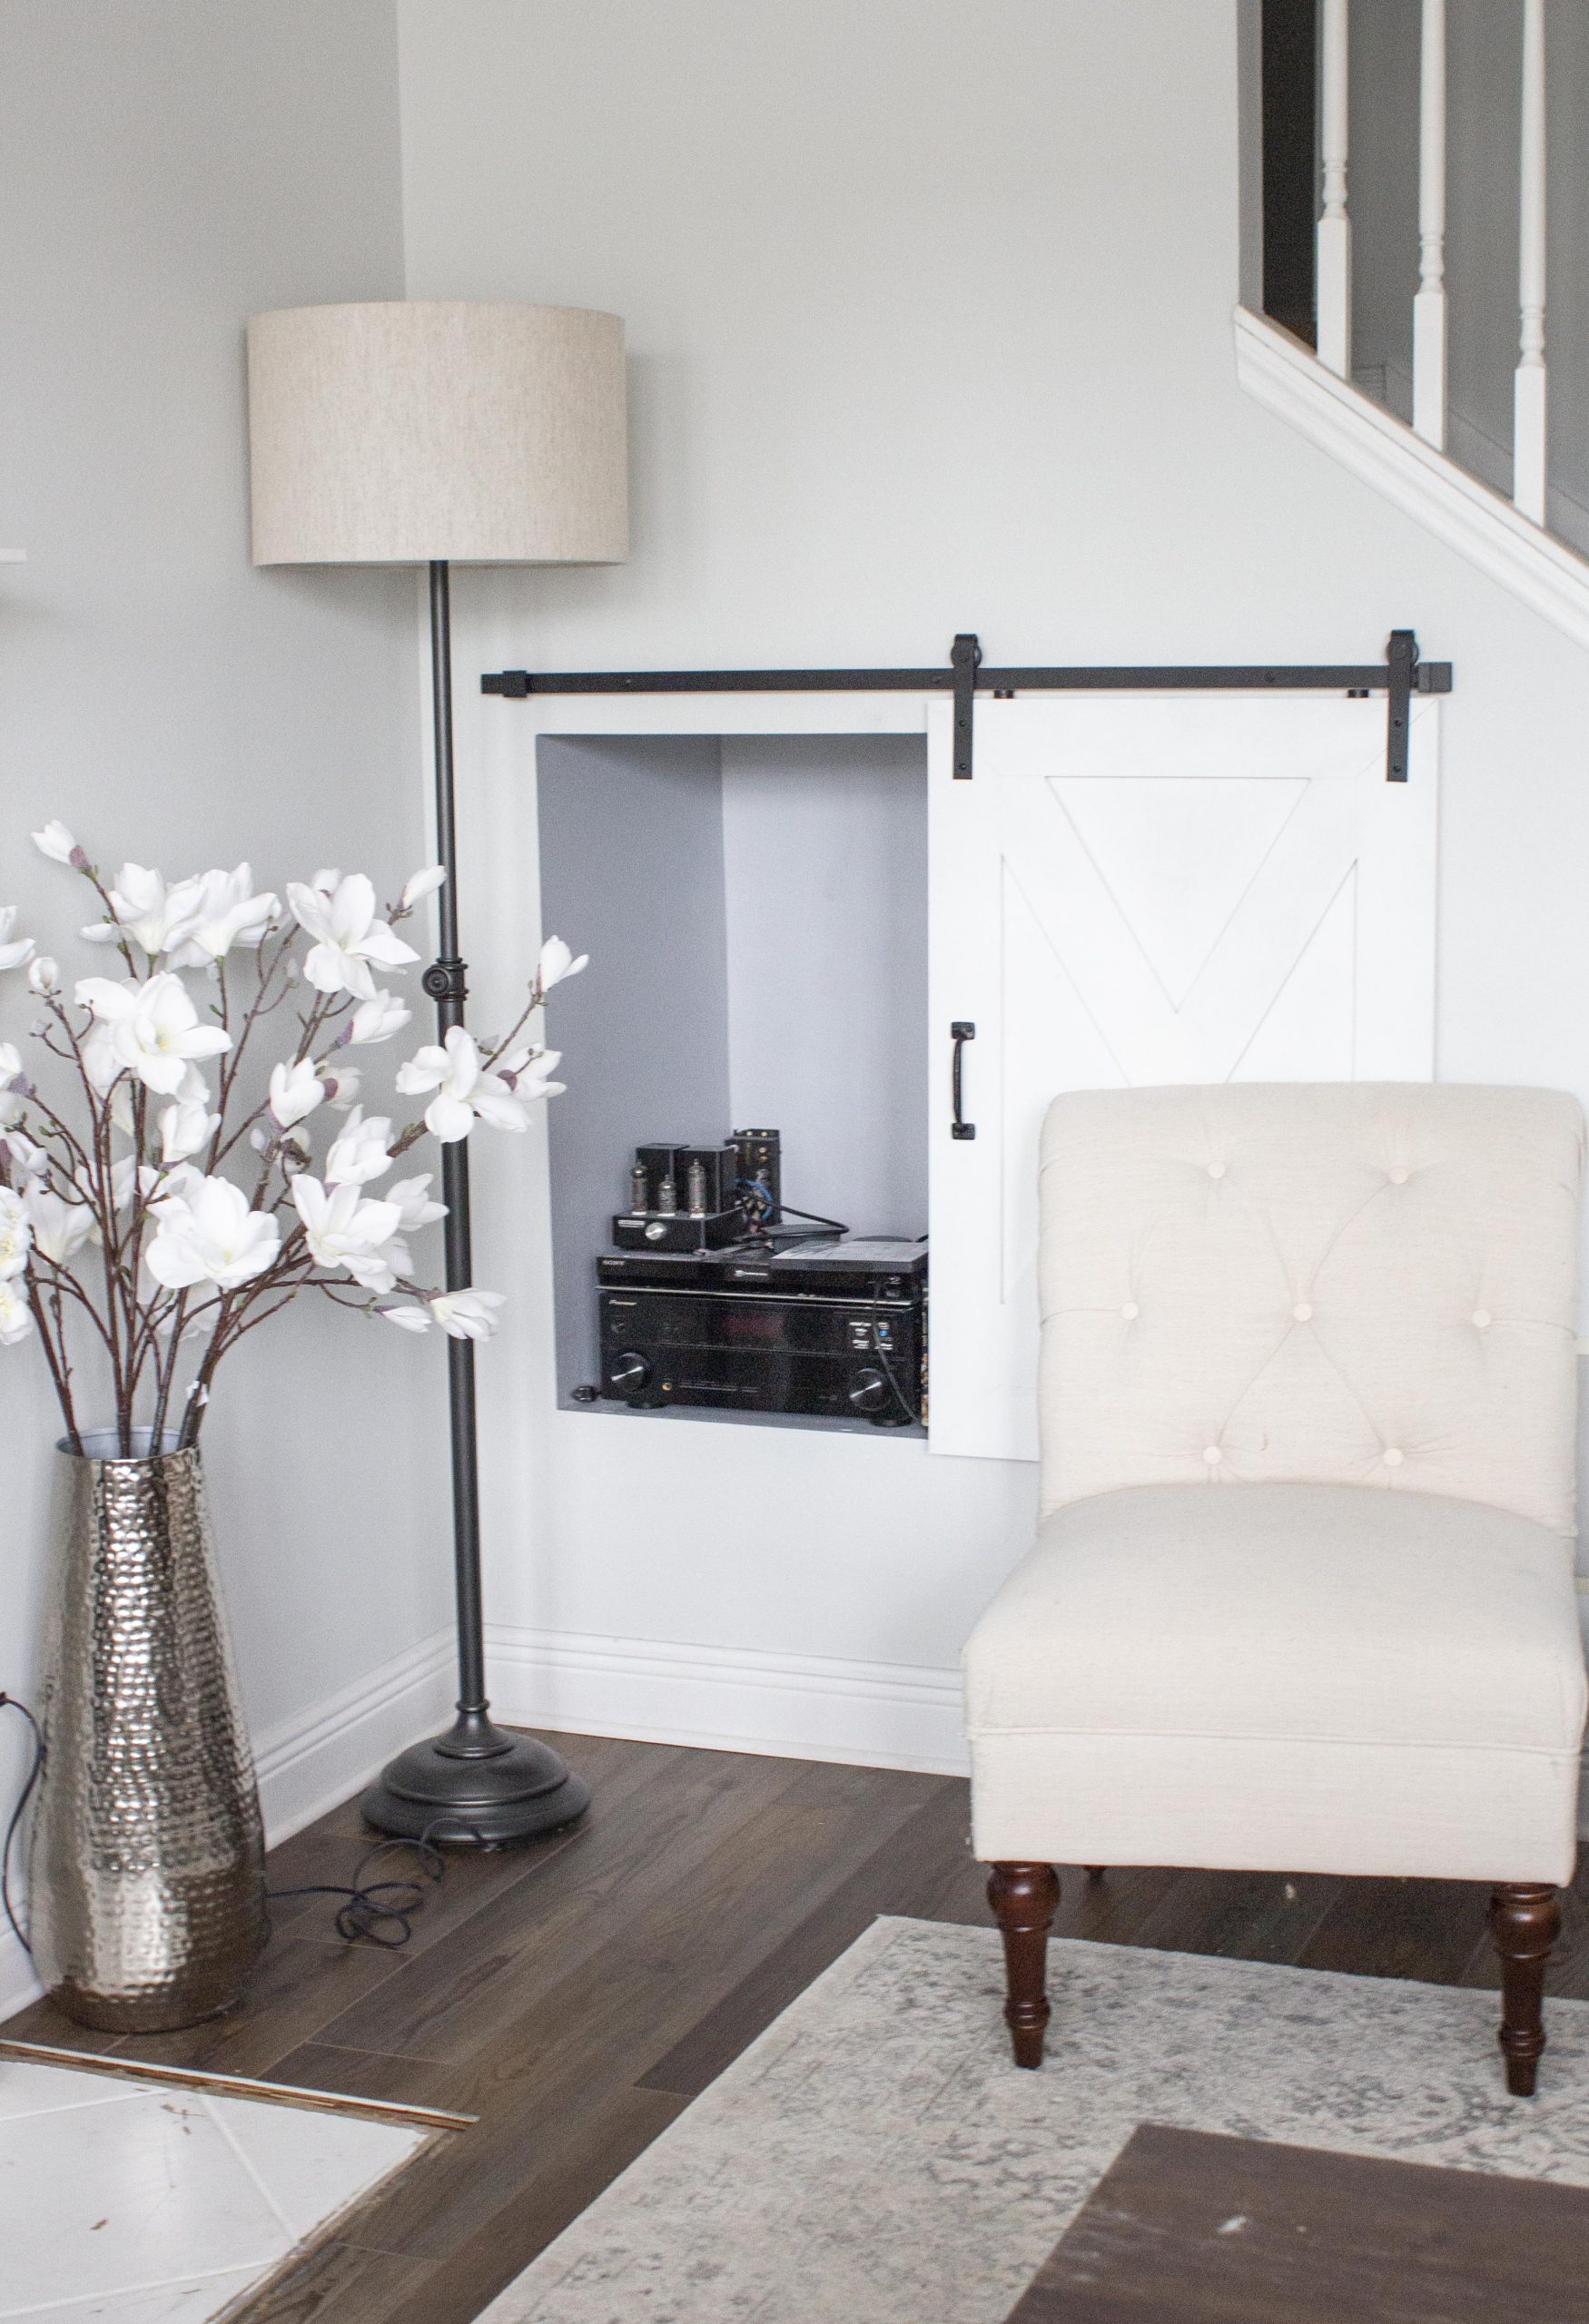
Hello fellow home decor lovers! Today I am sharing something with you all that my husband and I made. We moved into our house last year and the owners had built in a little alcove for a DVD player and other media because the TV mount is above a fireplace. It is super handy and we are so glad that it exists, however, it is not the most aesthetically pleasing to look at.
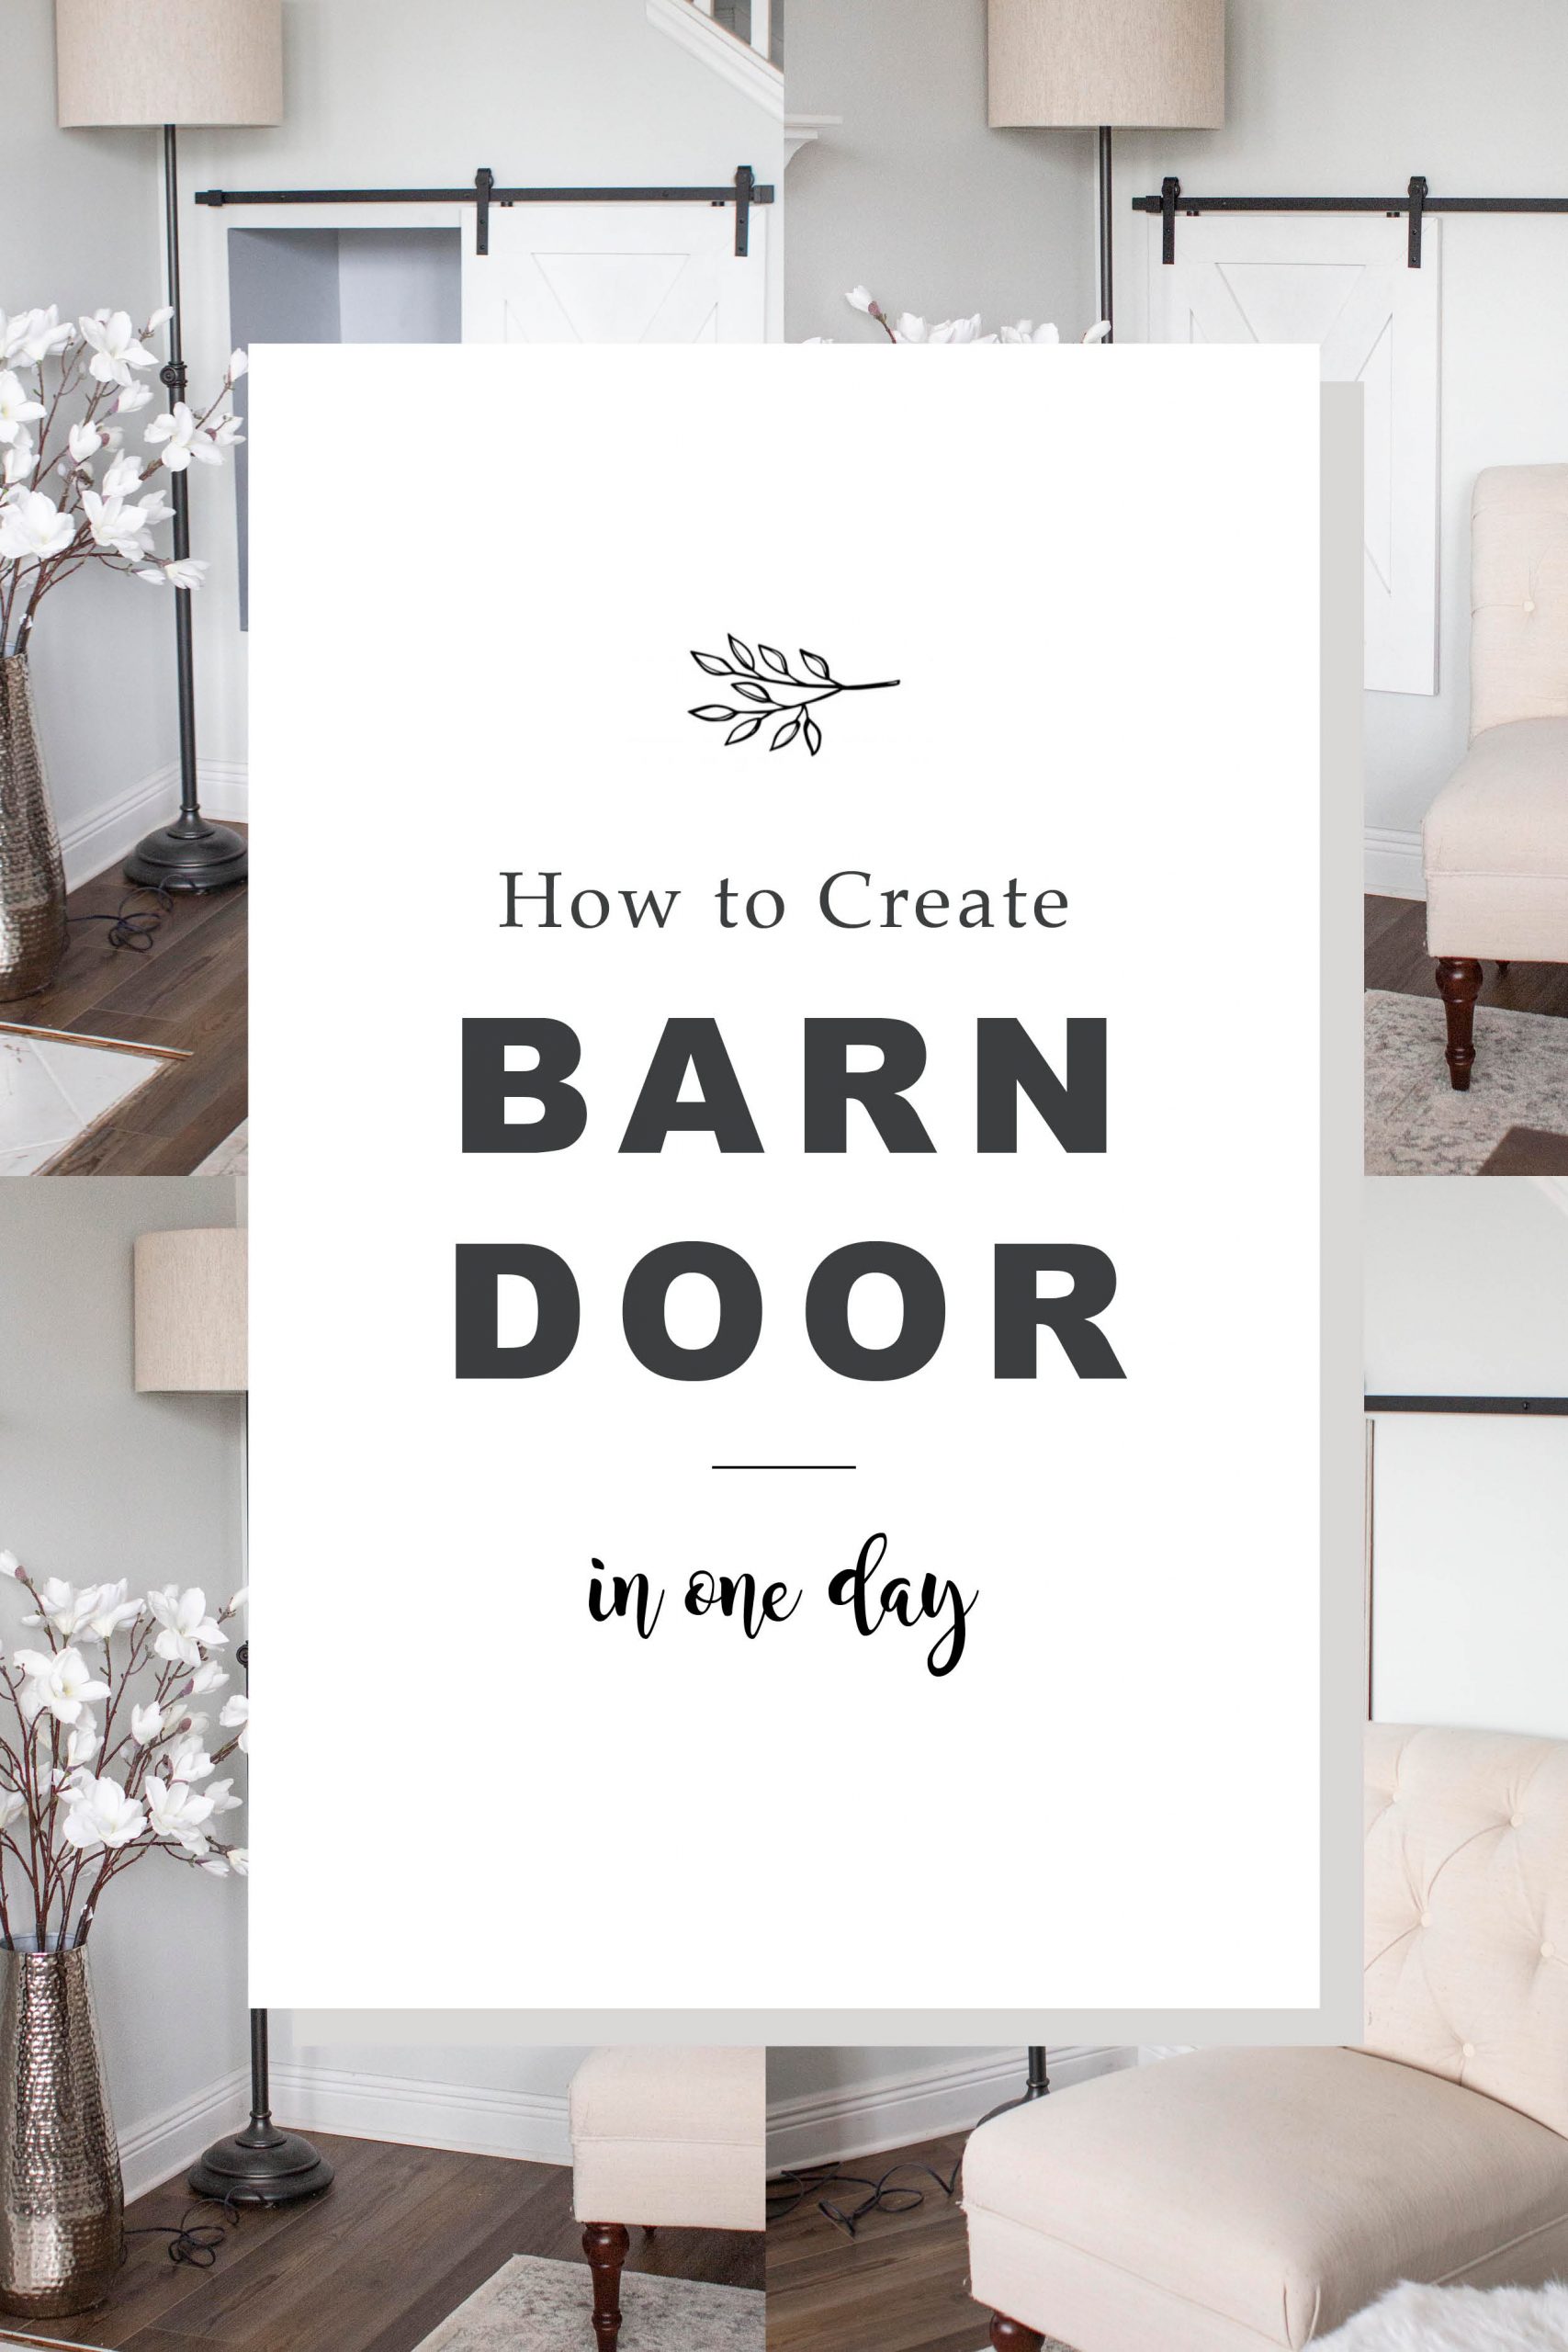
It had been bothering me for a while and one day, I went on Pinterest and got the idea for a mini sliding barn door. After a lot of research and math, I decided that we would need to build it as apposed to buying one. After everything was said and done, we spent less than $100 and I am super pleased with the results. The whole project also only took us one day which is great if you are impatient like me haha.
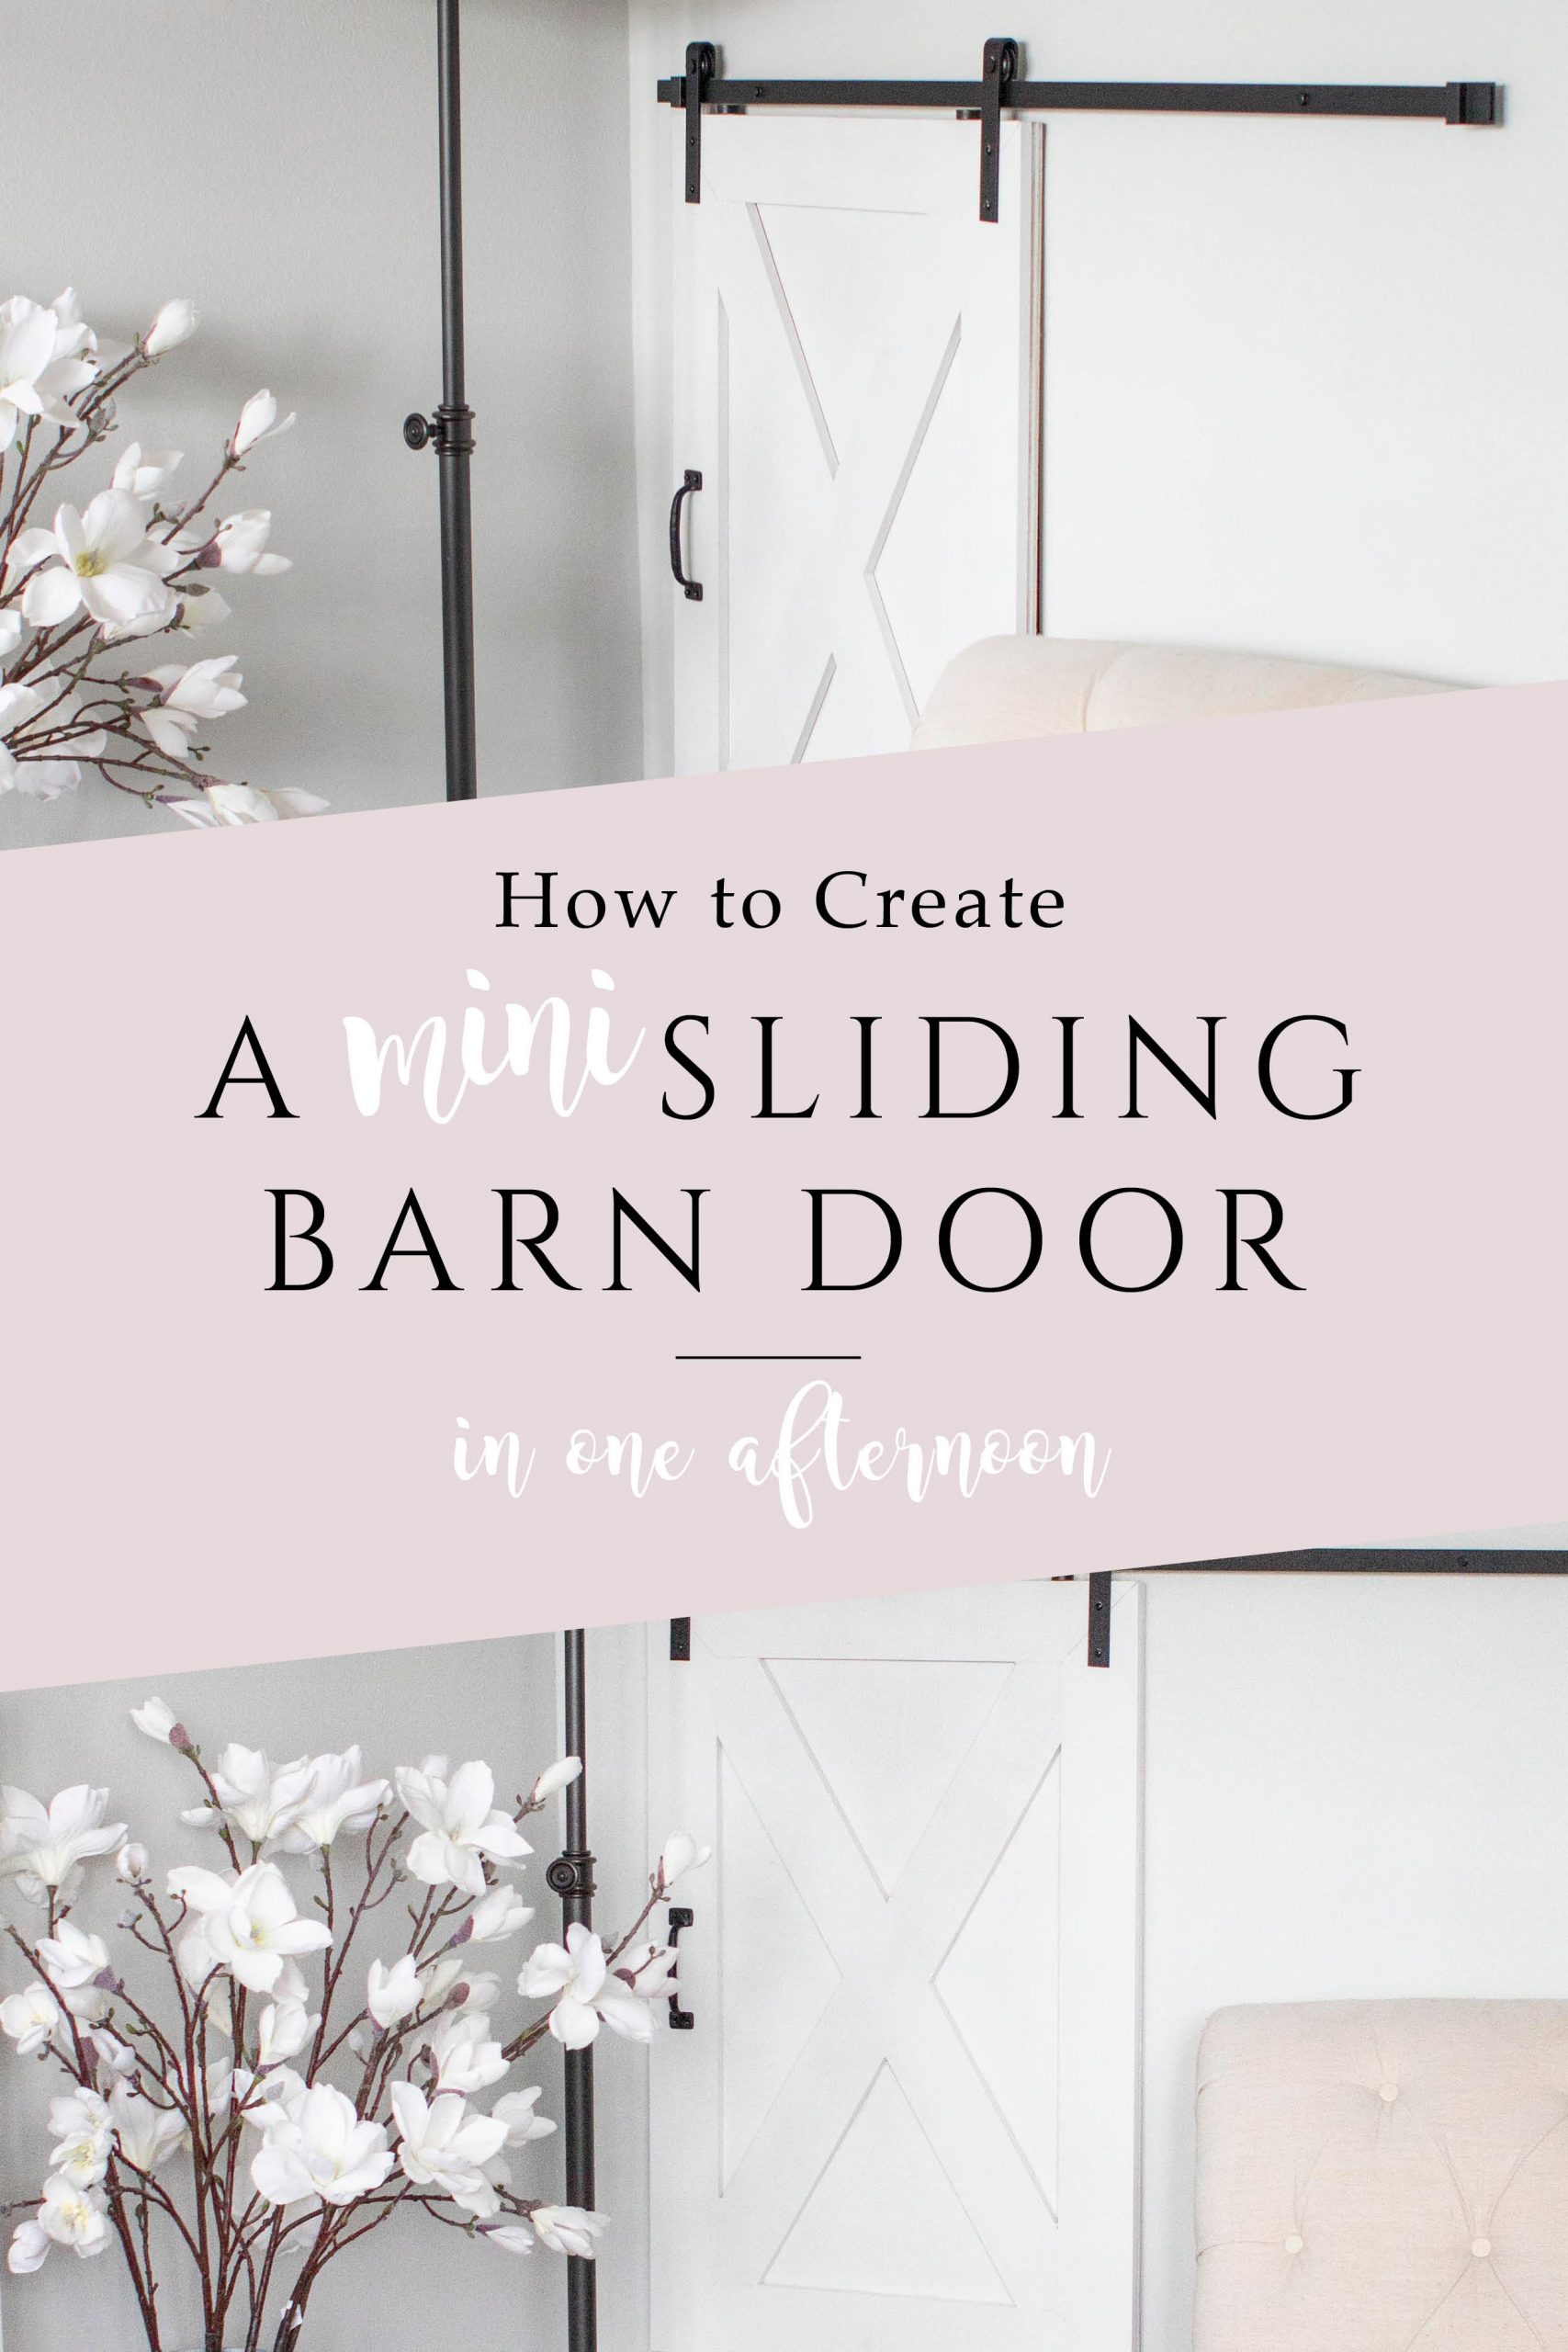
So, if you are thinking of building a barn door for a crawl space, attic, random media alcove, on a cabinet, or anywhere else, then hopefully this will help you!
The Materials

What you will need:
- Start with a barn door slider. This will vary based on what size you need, what weight it needs to carry, and how wide you need it to be. Ours was meant for a mini barn door and came from Amazon. You can purchase it here. Once you pick one, pay attention to how thick your door needs to be in order to fit into the sliders. For example, ours needed to be more than 1/2 in but less than 2 inches thick.
- A sheet of plywood. We chose one that was 1/2 inch thick and 2′ by 3′.
- Poplar boards. Measure you door and see how many planks you will need for yours. I highly recommend getting one or two extra just in case you cut wrong on another. We bought 5 boards that were 1/2″ deep and 4″ wide
- Liquid Nails or wood glue.
- Spray paint. We used 2 full cans for our door so adjust accordingly.
- 4 clamps.
- A saw.
- A handle.
- Wood filler.
SUPPLIES FROM AMAZON
[show_shopthepost_widget id=”3894949″]
The Process
STEP 1: Cut your plywood to the appropriate size.
STEP 2: Cutting the border. I had hubby do all of the cutting since, ya know, I am legally blind and all …
You will need to do some measuring and math here (I know! I’m sorry!).
First, cut your four boards to the appropriate lengths. Our door was 2′ by 3′, so we cut two boards to 2′ and 2 boards to 3′.

If your poplar boards are all the same width like ours were (they were all 4″ wide) then your angles around the four corners will all be 45 degrees. This setting is on the saw and all you have to do is cut the 45 degree angle at the end of your boards. I will show a picture so you can seer what I am talking about.

STEP 3: Cutting the center X shape.
This is the hardest part in my opinion. There is a bit more math involved. We cut the boards to the appropriate lengths going across in an X and then measured out the center of the end of each. Once we marked the center, we lined the center of the end of the board, at both ends, with the corner it was going to fit in. Then we marked where it needed to be cut.
STEP 4: Glue down your boards and apply the clamps while it dries.

STEP 5: Fill in the cracks with wood filler. We just added a little bit of wood filler along the edges where the boards met each other. Naturally, with crazy angles like this, you aren’t going to get the boards to meet perfectly. This makes it look seamless.
STEP 6: Spray paint your beautiful door.

STEP 7: Add your handle and tracks from your slider kit according to its directions.
STEP 8: Mount the slider according to the provided instructions.

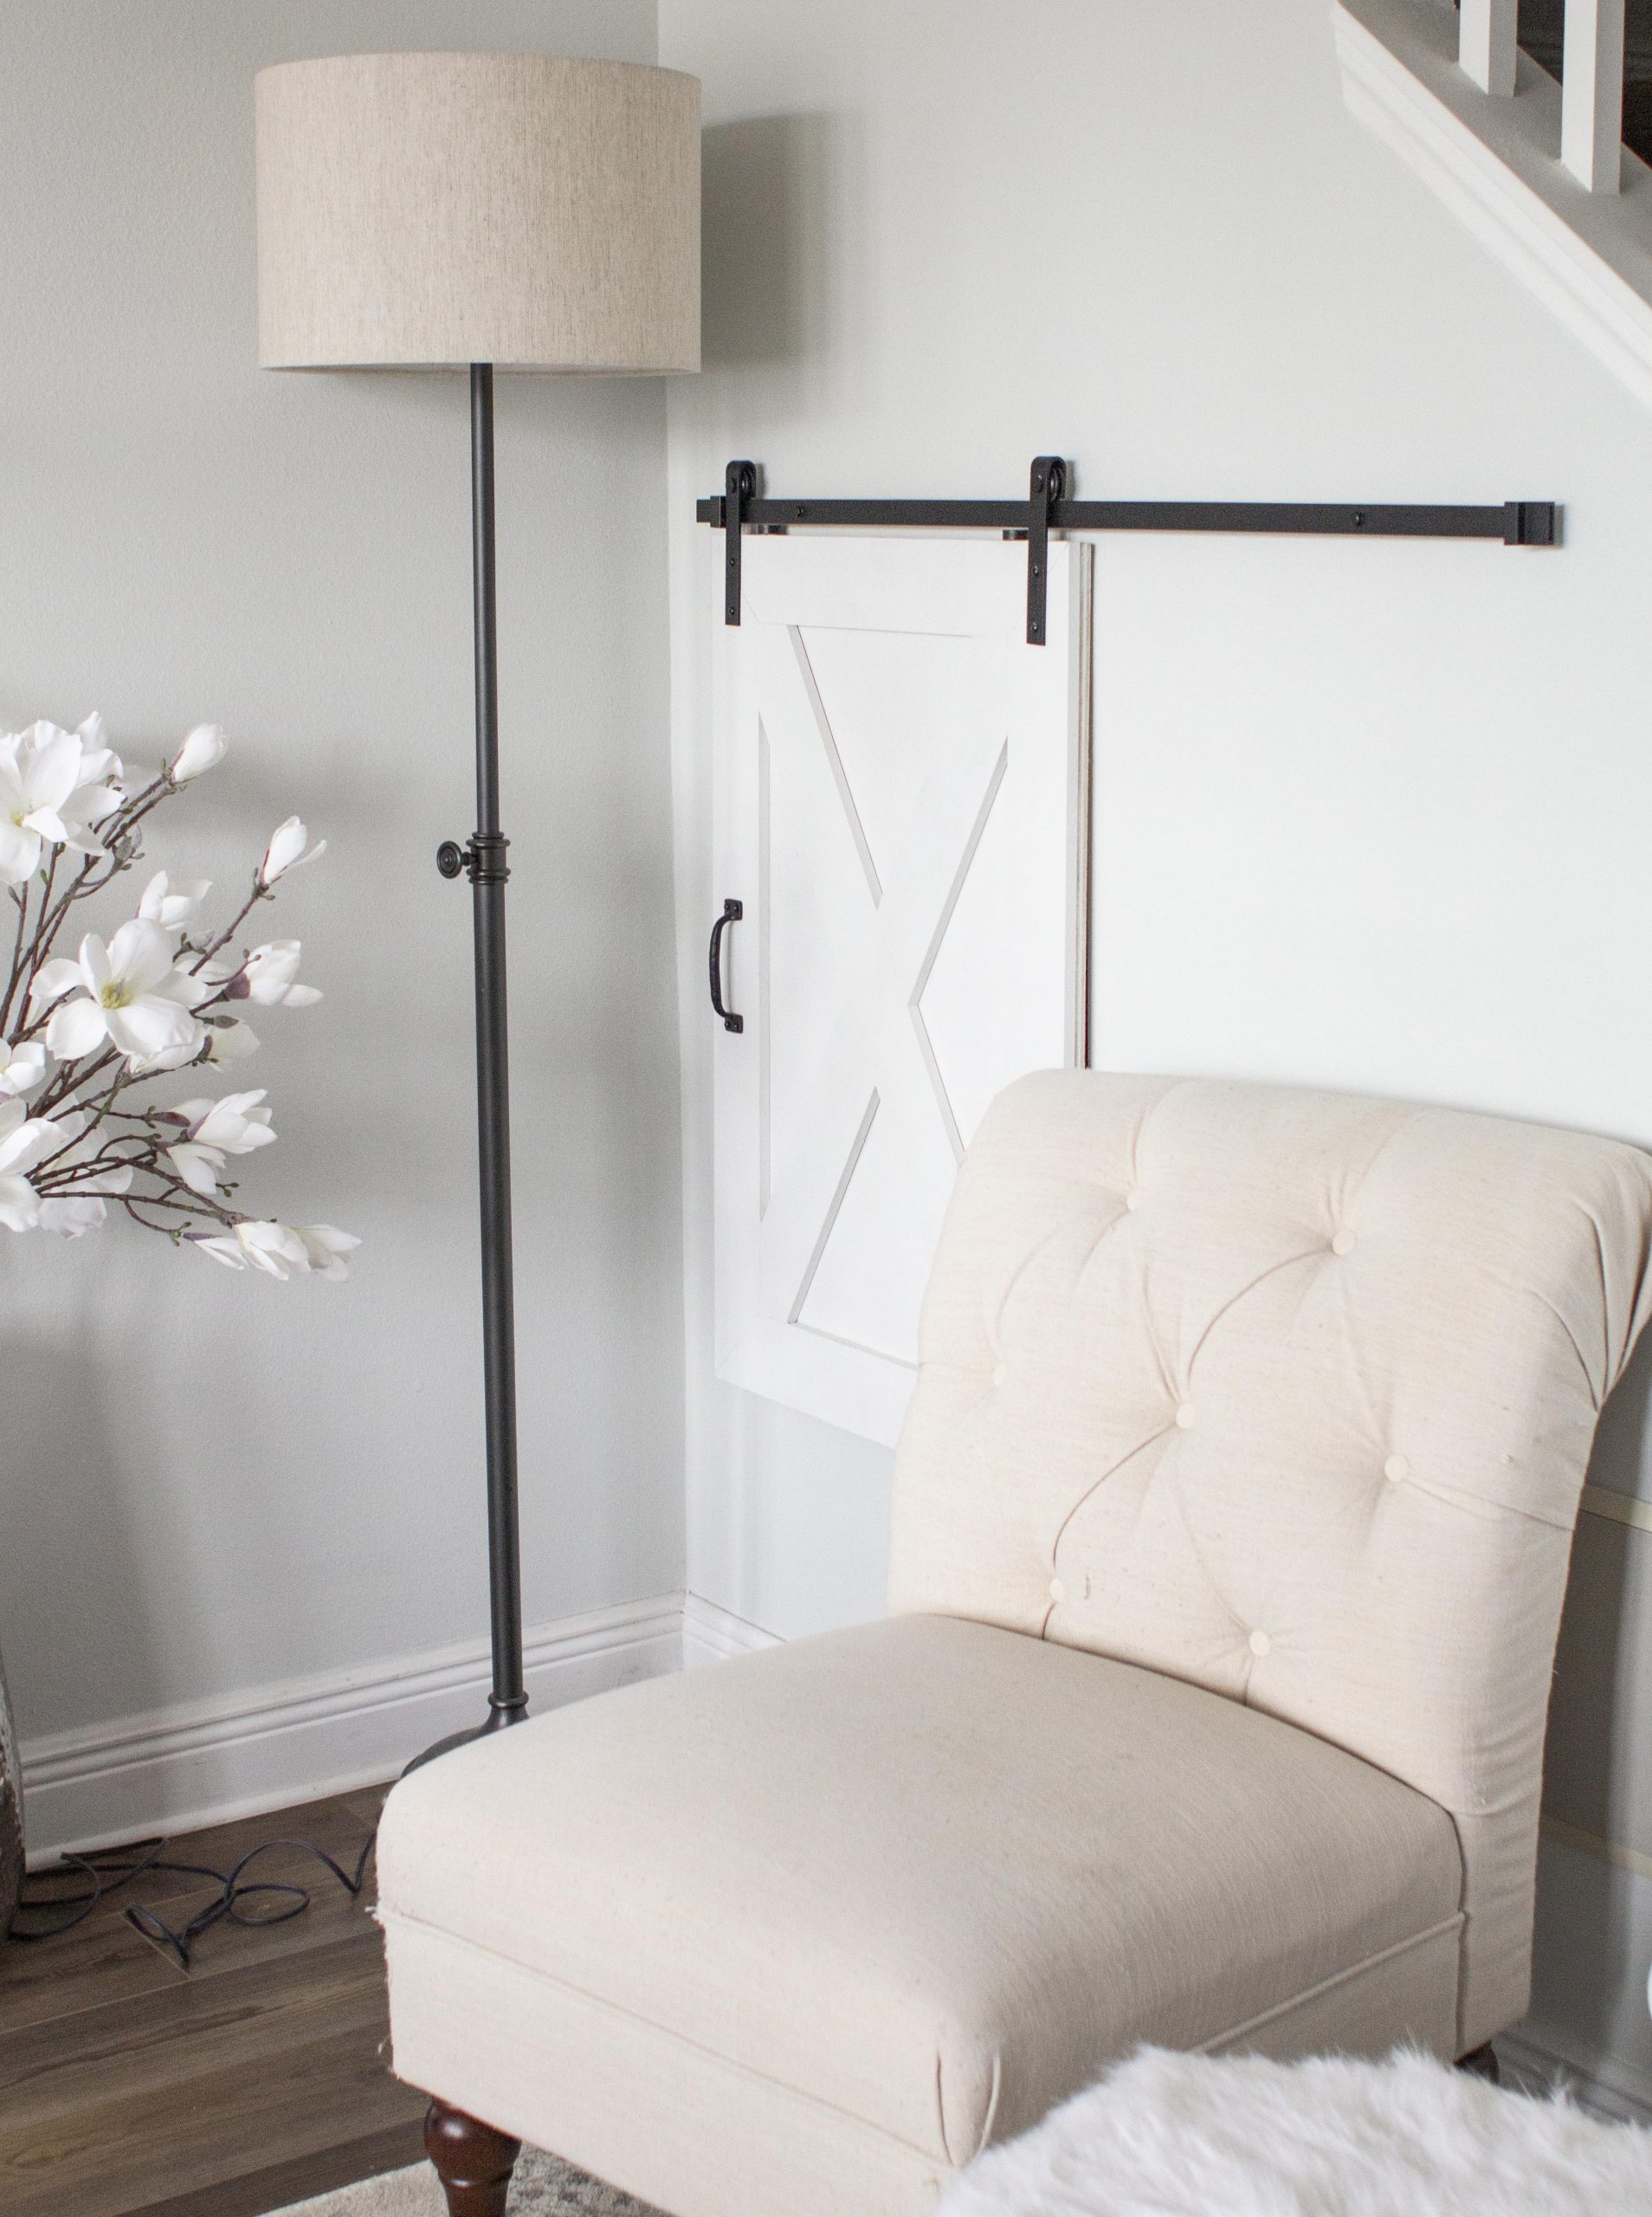
That’s it! You are done and hopefully have a functional and beautiful looking sliding barn door. Like I mentioned, this whole project only took us a day to complete and I am so happy with how it turned out.
If you attempt a barn door like this one, please tag me on instagram or share your pin on Pinterest for me to see!
Thanks for reading,

Leave a Reply